[user@localhost etc]$ cat /etc/centos-release
CentOS Linux release 7.3.1611 (Core)
커널버전
[user@localhost etc]$ uname -r
3.10.0-514.el7.x86_64
demo user created here for the rest of this tutorial.
- sudo yum install java-1.7.0-openjdk-devel
y at the prompt to continue installing OpenJDK 7./usr/lib/jvm/jre.tomcat user, which will be used to run the Tomcat service.tomcat group:
- sudo groupadd tomcat
tomcat user. We'll make this user a member of the tomcat group, with a home directory of /opt/tomcat (where we will install Tomcat), and with a shell of /bin/false (so nobody can log into the account):
- sudo useradd -M -s /bin/nologin -g tomcat -d /opt/tomcat tomcat
tomcat user is set up, let's download and install Tomcat.
- cd ~
wget and paste in the link to download the Tomcat 8 archive, like this (your mirror link will probably differ from the example):
- wget http://apache.mirrors.ionfish.org/tomcat/tomcat-8/v8.5.9/bin/apache-tomcat-8.5.9.tar.gz
/opt/tomcat directory. Create the directory, then extract the the archive to it with these commands:
- sudo mkdir /opt/tomcat
- sudo tar xvf apache-tomcat-8*tar.gz -C /opt/tomcat --strip-components=1
tomcat user that we set up needs to have the proper access to the Tomcat installation. We'll set that up now.
- cd /opt/tomcat
tomcat group ownership over the entire installation directory:
- sudo chgrp -R tomcat /opt/tomcat
tomcat group read access to the conf directory and all of its contents, and execute access to the directory itself:
- sudo chmod -R g+r conf
- sudo chmod g+x conf
tomcat user the owner of the webapps, work, temp, and logs directories:
- sudo chown -R tomcat webapps/ work/ temp/ logs/
- sudo vi /etc/systemd/system/tomcat.service
CATALINA_OPTS:# Systemd unit file for tomcat
[Unit]
Description=Apache Tomcat Web Application Container
After=syslog.target network.target
[Service]
Type=forking
Environment=JAVA_HOME=/usr/lib/jvm/jre
Environment=CATALINA_PID=/opt/tomcat/temp/tomcat.pid
Environment=CATALINA_HOME=/opt/tomcat
Environment=CATALINA_BASE=/opt/tomcat
Environment='CATALINA_OPTS=-Xms512M -Xmx1024M -server -XX:+UseParallelGC'
Environment='JAVA_OPTS=-Djava.awt.headless=true -Djava.security.egd=file:/dev/./urandom'
ExecStart=/opt/tomcat/bin/startup.sh
ExecStop=/bin/kill -15 $MAINPID
User=tomcat
Group=tomcat
UMask=0007
RestartSec=10
Restart=always
[Install]
WantedBy=multi-user.target
tomcat user, with the settings specified.
- sudo systemctl daemon-reload
systemctl command:
- sudo systemctl start tomcat
- sudo systemctl status tomcat
- sudo systemctl enable tomcat
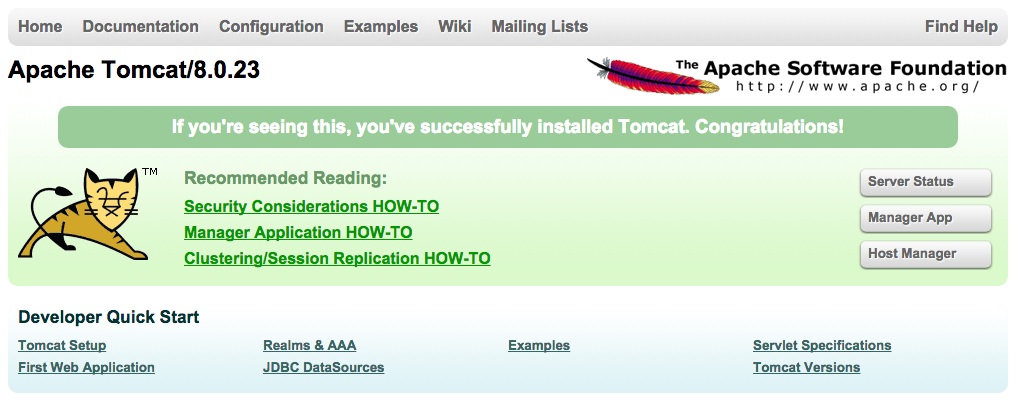
:8080 in a web browser:
Open in web browser:
http://server_IP_address:8080
tomcat-users.xml file:
- sudo vi /opt/tomcat/conf/tomcat-users.xml
<tomcat-users>
...
</tomcat-users>
manager-gui and admin-gui (webapps that come with Tomcat). You can do so by defining a user similar to the example below. Be sure to change the username and password to something secure:<tomcat-users>
<user username="admin" password="password" roles="manager-gui,admin-gui"/>
</tomcat-users>
context.xml files.
- sudo vi /opt/tomcat/webapps/manager/META-INF/context.xml
- sudo vi /opt/tomcat/webapps/host-manager/META-INF/context.xml
<Context antiResourceLocking="false" privileged="true" >
  <!--<Valve className="org.apache.catalina.valves.RemoteAddrValve"
         allow="127\.\d+\.\d+\.\d+|::1|0:0:0:0:0:0:0:1" />-->
</Context>
- sudo systemctl restart tomcat
Open in web browser:
http://server_IP_address:8080
http://server_IP_address:8080/manager/html: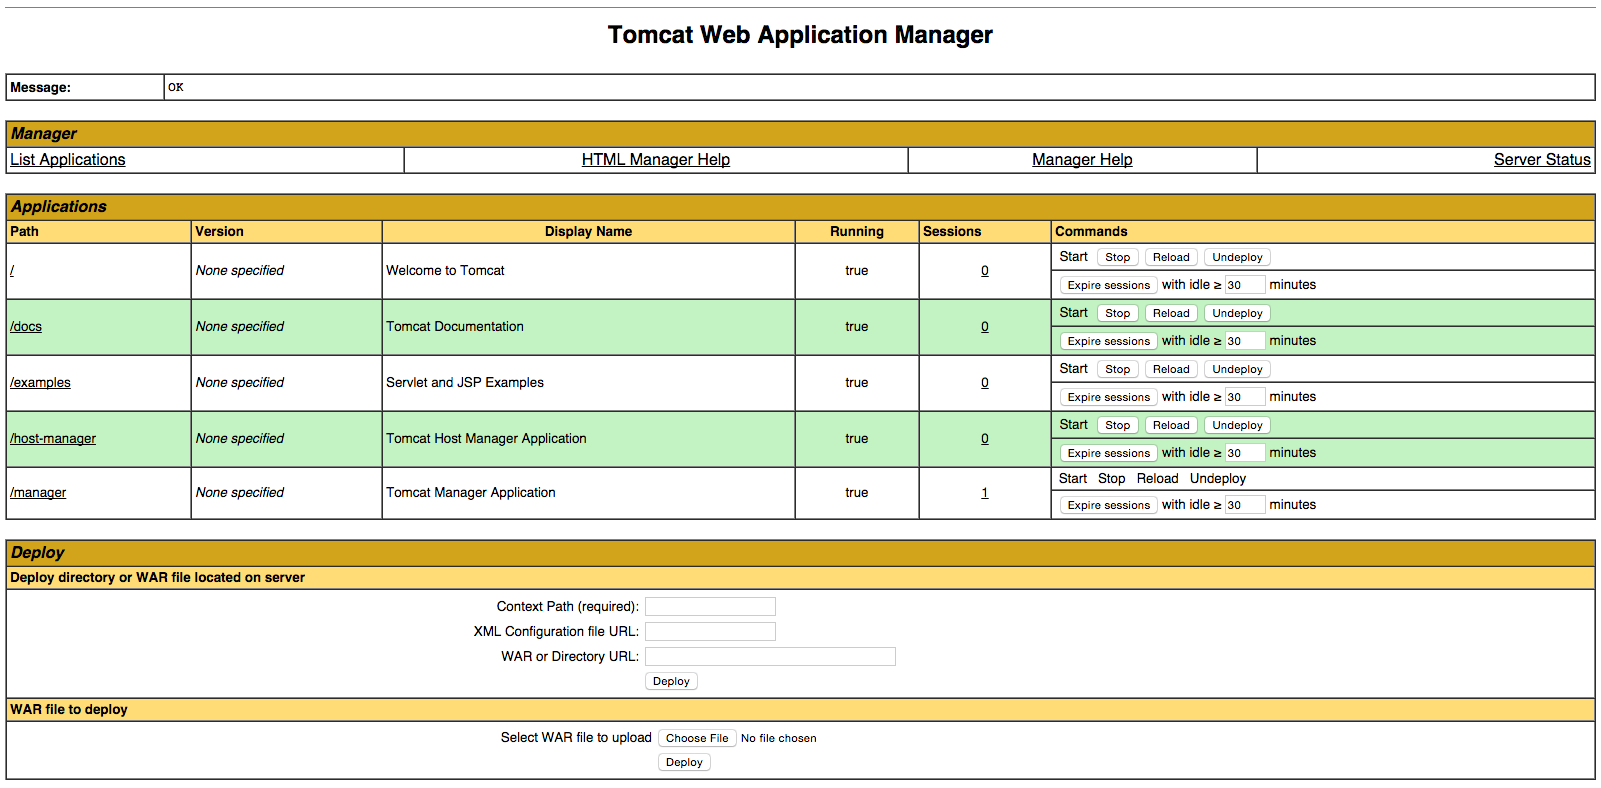
http://server_IP_address:8080/host-manager/html/: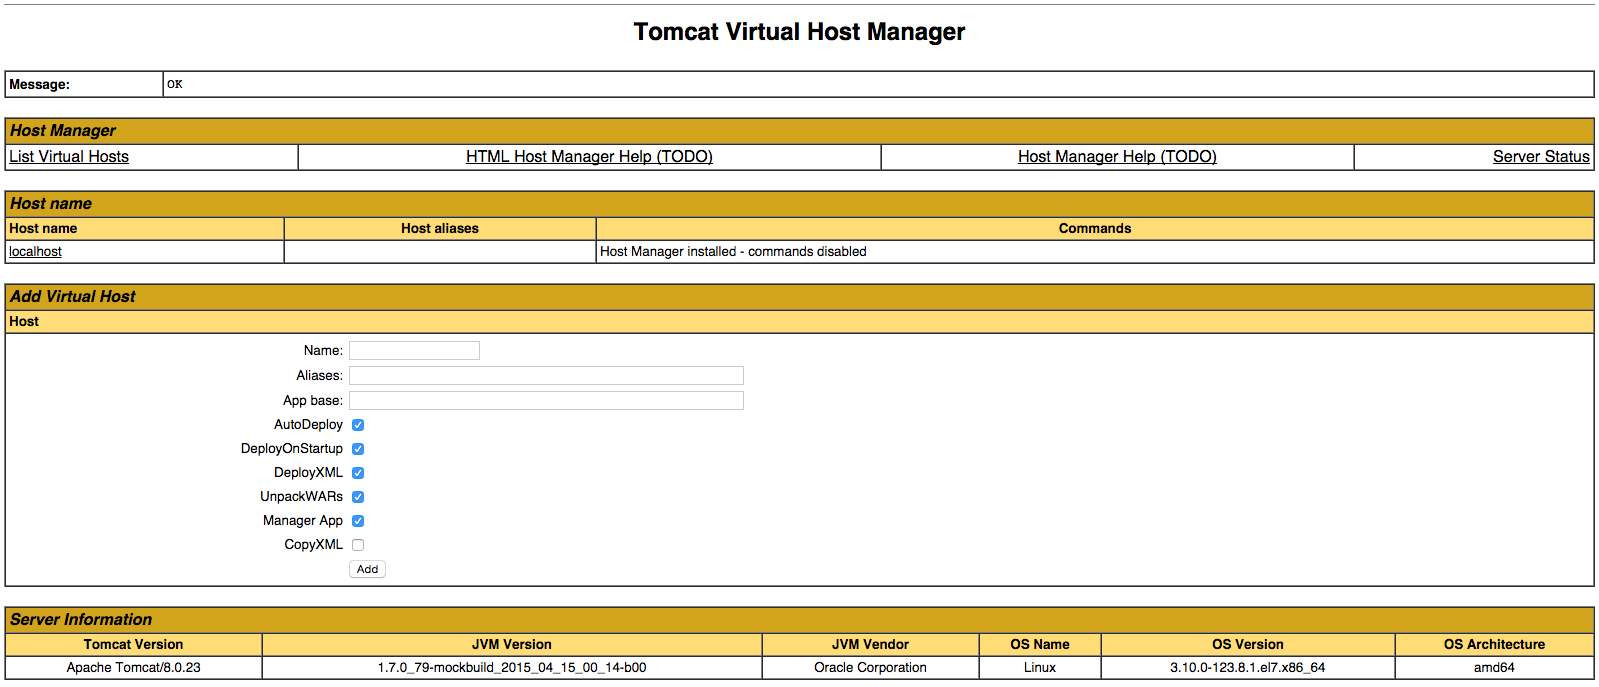
pygame-1.9.2b1-cp35-cp35m-win32.whl
C:\Users\name\> cd Downloads
C:\Users\name\Downloads> pip install pygame-1.9.2b1-cp35-cp35m-win32.whl
| Name | Pin # | Pin name |
|---|---|---|
| SDA | 24 | GPIO8 |
| SCK | 23 | GPIO11 |
| MOSI | 19 | GPIO10 |
| MISO | 21 | GPIO9 |
| IRQ | None | None |
| GND | Any | Any Ground |
| RST | 22 | GPIO25 |
| 3.3V | 1 | 3V3 |


from collections import namedtuple class Fruit(object): def __init__(self, name, colour, shape): self.name = name self.colour = colour self.shape = shape variables1 = {} variables2 = {} Fruitlist = [ ['Apple', 'red', 'circle'], ['Banana', 'yellow', 'abnormal'], ['Pear', 'green', 'abnormal'] ] Fruits = namedtuple("Fruit",["name", "colour", "shape"]) Fruitlist.append(["감","노랑","동그라미"]) for args in Fruitlist: fruit1 = Fruit(*args) fruit2 = Fruits(*args) variables1[fruit1.name] = fruit1 variables2[fruit2.name] = fruit2 print("Apple shape: " + variables1["감"].shape) print("Apple shape: " + variables2["감"].shape)
출처 http://stackoverflow.com/questions/35684400/how-to-use-python-3-5-1-with-a-mysql-dtabase#!/usr/bin/env python import pymysql conn = pymysql.connect(host='localhost', port=3306, user='root', passwd='', db='sandbox') cur = conn.cursor() cur.execute("SELECT * FROM users") print(cur.description) print() for row in cur: print(row) cur.close() conn.close()


import pymysql

conn = pymysql.connect(host='localhost', port=3306, user='userID', passwd='password', db='db')

cur = conn.cursor()
cur.execute("SELECT * FROM tableName")

print(cur.description)
print()

for row in cur:    print(row)

cur.close()
conn.close()

E: Unable to locate package python3-pil
E: Unable to locate package python3-imaging-tk